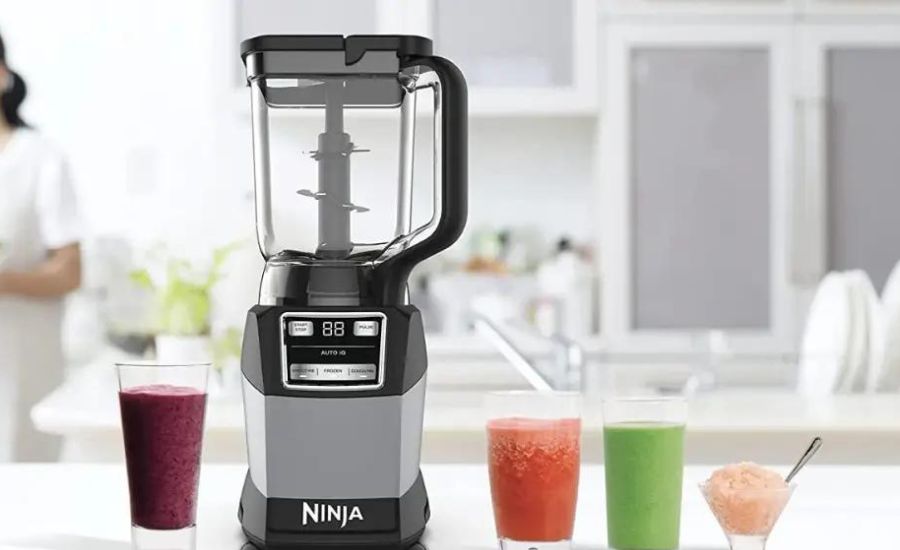
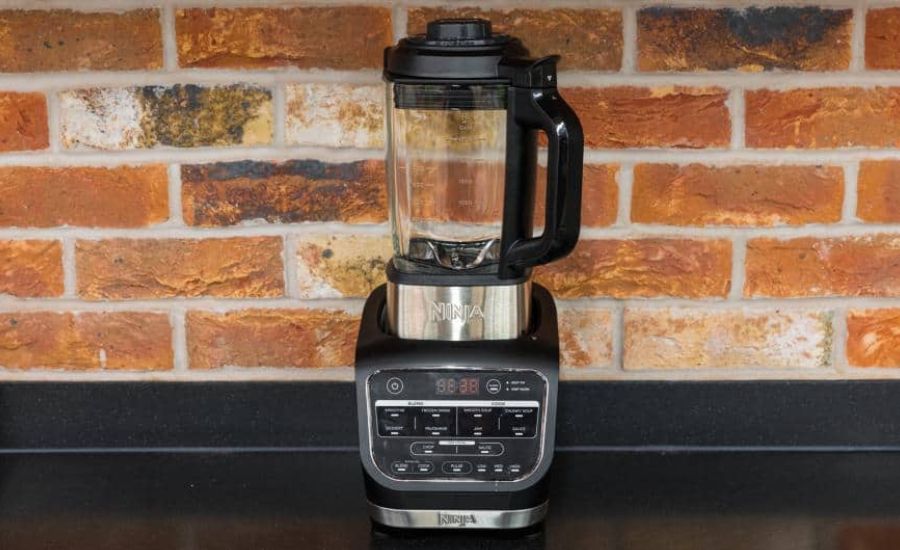
The most popular and commonly used blenders right now are Ninja blenders. This model is strong and has several powerful functions. One of its numerous advantages is its ability to save energy. Additionally, it is quite simple to clean after usage.
It’s crucial to clean your blender correctly if you intend to use it for a substantial period. And you may have certain questions regarding it. For instance, how frequently should your Ninja blender be cleaned? Are Ninja blenders dishwasher safe?
In this article, we will give you the answers to those and many more questions and provide you with the most detailed instructions to keep your device in top-notch condition.
Let’s get right to it.
Why is it necessary to clean a Ninja blender regularly?
First things first, let’s figure out why cleaning Ninja blenders is important at all.
You will be shocked when you find out how many germs and bacteria surround all the kitchen equipment in our homes. Ninja blender is no exception.
Not only that, but it is more likely to contain these bacteria than any other kitchen device due to some fruit or vegetables that may be left unnoticed after you make a delicious smoothie.
According to a significant health study, food and appliances that have not been thoroughly cleaned are to blame for roughly 20–30% of our illnesses. If only you were aware of how close we are to listeria bacteria, salmonella, or something even worse when we neglect to give our devices a properly thorough wash.
Consequently, you have to get the Ninja blender cleaned immediately as soon as you’ve used it. If you apply the blender every day, you should give it a thorough cleaning once each week. This will lessen the accumulation of crud and filth, which can result in stains that are quite difficult to remove.
How to clean Ninja blender: top 3 methods
If you’re the proud owner of a Ninja blender, you are aware of its strength and adaptability. But to keep it functioning properly, your Ninja blender needs regular maintenance just like any other kitchen gadget.
Maintaining your Ninja blender in good shape requires regular cleaning. You can get the most use out of this blender model by following the detailed cleaning instructions provided below.
As you are about to find out, cleaning your Ninja blender can be done in several ways. One of them requires time, while others expedite the process. Results are what matter most, and you can choose to clean your blender by implementing one of these techniques.
Dishwasher method
You may be wondering: is a Ninja blender dishwasher safe? In that case, here’s the answer for you: yes, it is. However, applying a dishwasher for this purpose is not entirely advised.
After having gone through a dishwasher, the plastic parts of numerous devices, Ninja blenders as well, are destroyed by the caustic detergent and persistent high water temperature. But it is still possible to clean your Ninja blender with the help of a dishwasher.
The biggest benefit of this technique is saving time. You may think about utilizing a dishwasher to clean Ninja blenders instead of doing it with your hands for simplicity and convenience. After all, the only things that you require are a functional dishwasher and dishwasher detergent.
Let’s see the details.
Step 1. Separate the Ninja blender
Get out the device and gradually begin separating it: first things first, remove the jug, then get the top, and the blades.
Step 2. Load the dishwasher
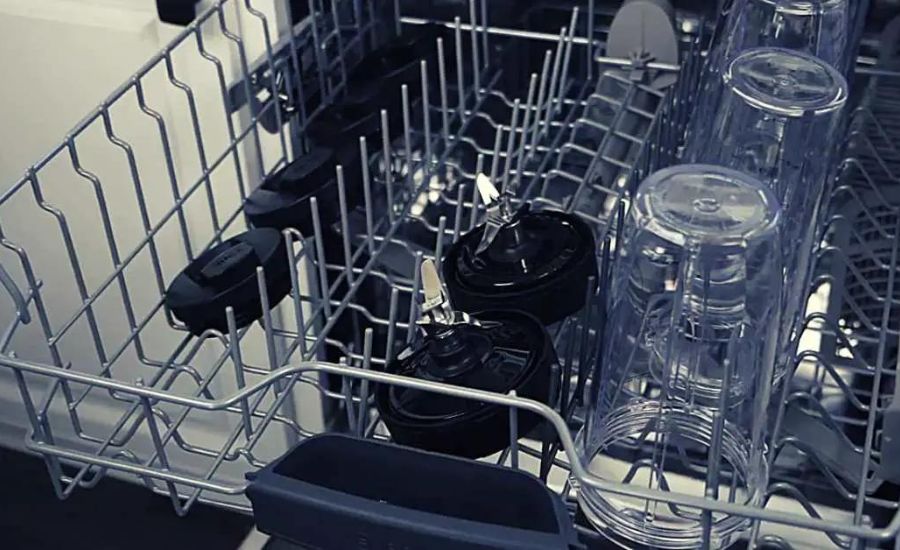
Put the jug on the bottom rack of the dishwasher, and vice versa, place the lid and blades on top.
Step 3. Start the washing
Launch the dishwasher, and off you go. You can sit back and let your dishwasher handle the remaining cleaning tasks.
Hand wash method
It’s entirely acceptable if you choose to give the blender a wash with your hands instead of putting it in a dishwasher. That is why we introduce you to the next – probably most time-consuming and difficult but thorough – technique of how to clean Ninja blender.
Step 1. Separate the Ninja blender
The cleaning process starts with every component being removed from the blender. That is why the initial thing to do is to switch the Ninja blender off, unplug it, and separate all its parts.
If you are having doubts about correctly and safely getting to all the Ninja blender parts, have a look at the user manual.
Step 2. Clean Ninja blender jug
Pour some warm water inside the Ninja blender jug and add two teaspoons of liquid dish soap or half a cup of baking soda.
After that, scrub it with a soft sponge or a cleaning rag. As a result, you will thoroughly clean your Ninja blender jug and thus increase its longevity.
Afterward, wash off any remaining dish soap or baking soda.
Step 3. Clean Ninja blender blades
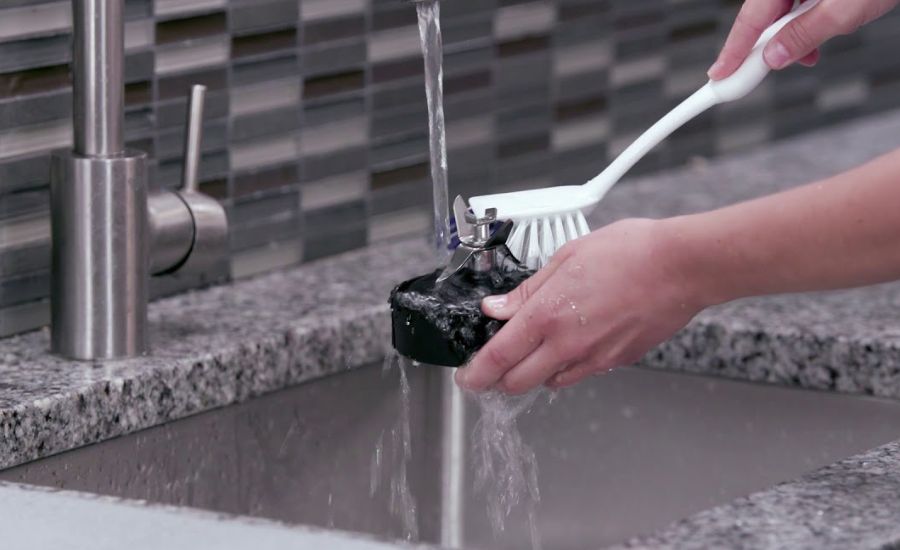
Thirdly, move on to cleaning the Ninja blender blades, which is one of the hardest parts. Put the blades in warm, soapy water, and clean them with a gentle brush. Afterward, put them under a running tap.
It is vital to remember that the blade assembly cannot be submerged in water, since it can harm the motor.
The self-cleaning function can also be utilized to clean the blades. Run the cycle once you add a cup of water and a few drops of dish soap to the jug. Its interior alongside the blade assembly will be simultaneously cleaned.
Step 4. Clean Ninja blender power base
Washing the Ninja blender power base on a regular basis is crucial to maintaining the device’s functionality. Unwanted food residue can accumulate on the blades over time, decreasing their effectiveness. Eventually, the unwanted buildup will form and harm the motor if it is not removed.
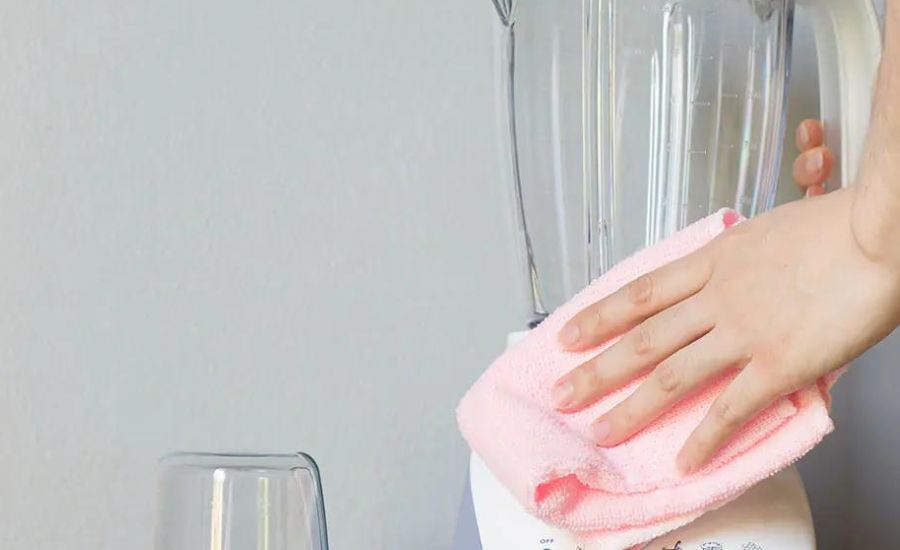
Unplug the blender and continue by removing the pitcher power base. Next, using a slightly wet cloth, clean the exterior of the Ninja blender base. Remember to be cautious and keep water from entering the Ninja blender base.
Remove the rubber gasket covering the blades after the exterior is thoroughly cleaned. Carry out clearing the blades from debris with a gentle brush and some warm water. Finally, dry them.
Step 5. clean Ninja blender handle
Your fifth action requires to clean a Ninja blender handle. For this task, simply use a damp cloth and some warm, soapy water. When it’s clean, don’t forget to rinse and dry it.
Step 6. Clean Ninja blender lid
Press the release button on the lid’s top and pull the lid firmly to clean it.
Once the lid has been removed, you can clean it with a dish brush while it is being washed with soapy water from the faucet.
Step 7. Clean Ninja Blender Gasket
Along the base’s threads, the gasket is positioned beneath the blade assembly. It may accumulate unwanted residue. Additionally, screwing and unscrewing the blender jar or blade assembly could be harmful. After some time, it will begin to smell.
To remove the gasket, use a toothpick. A butter knife will work just as well to pop it up safely.
To remove the stench, put it under a running tap and spritz a little vinegar. After a few applications, add a bit of olive oil to make it last longer.
Step 8. Clean other parts
The jar is secured in place by the Ninja blender seal. This may be cleaned with the help of a quick wipe-down with a moist towel. Afterward, dry them completely.
Along with the jar, the cups that come with a blender also need to be cleaned. Take the cups and bottles out of their plastic container, give them a good rinse, and dry them.
A quick tip: if you are having trouble cleaning any difficult-to-get-to locations in your blender, you can use a toothbrush. You can utilize a chopstick or toothpick to clean off any food buildup from the blades. Be cautious to avoid cutting yourself.
Step 9. Dry the parts
Place each component of the blender, including the jar, carefully on a dish rack and let it dry until there isn’t any water visible on any of the components.
Step 10. Assemble the device
After cleaning a Ninja blender and drying it, the time comes to reassemble everything. Initially, replace the rubber gasket that surrounds the blades. Then, firmly screw the blender’s top onto the appliance.
The Ninja blender should now be powered on after plugging it in and pressing the button responsible for power. You will hear blades rotating in case you set the device up correctly.
Self-cleaning method
A Ninja blender is perfect for blending quite solid components because of its razor-sharp blades. On the other hand, the blades usually turn cleaning a Ninja blender into a challenging process.
Utilizing the self-cleaning function is the answer to the question of how to clean Ninja blender and to be fully secure from accidentally cutting yourself.
Follow these instructions to find out how this function works.
Step 1. Blend water with dish soap
Fill the Ninja blender jar halfway with warm water, then add a few drops of the liquid dish soap.
Get the device on the low setting, secure the lid, and blend the mix for 60 to 90 seconds or until a froth forms. This procedure aids in cleaning a Ninja blender of any food residue clinging to the jar.
Step 2. Wash off the remains
Turn the Ninja blender off, drain the soapy water, and rinse the jar with some clean water.
How to clean the bottom of the Ninja blender?
The motor base can be found at the bottom. The electrical cord is also kept there. To keep the countertop tidy, the rubber pods require some cleaning.
Never run the motor base under the faucet or in the dishwasher. Electric components with delicate electronic circuitry that cannot withstand water content are found in the motor base.
Use a little damp cloth to clean the base, then dry it off. The foundation is the easiest to get cleaned, and it hardly even gets stained.
How to clean Ninja blender motor base inside?
Ninja always advises putting the motor base on a spotless, dry surface.
The motor is air-cooled, which means that it draws cool air from below the blender to keep it cool.
Thus, for the motor base to endure a long time, it must be cleaned inside after prolonged use. To access the motor, you must remove the bottom screws. Read more about making the Ninja blender function again if you are experiencing problems after having it cleaned.
How to clean Ninja blender from tough stains?
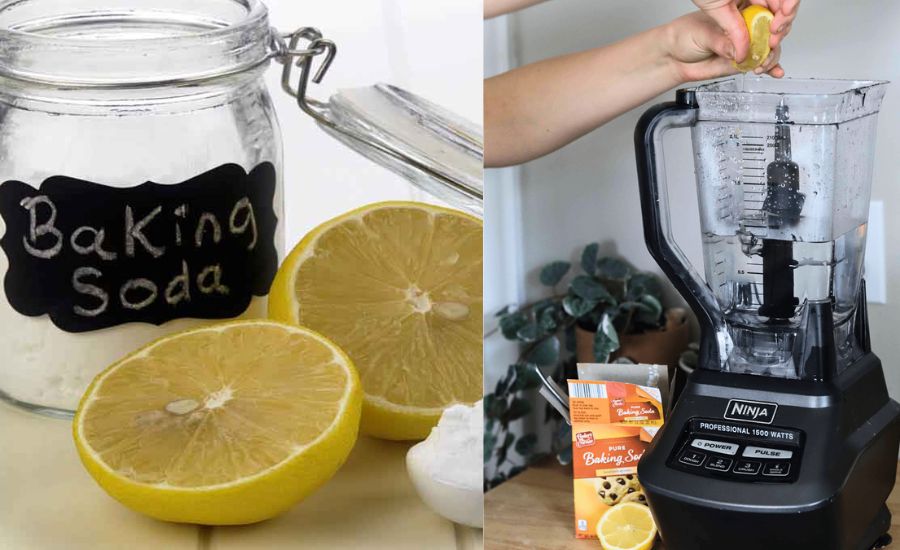
You can apply lemon to get rid of any tough stains that appear on the blender and that are difficult to remove with the rinsing procedure.
Pour the water into the jug before adding some detergent, baking soda, or lemon that has been roughly sliced. To make the stains easy to remove, turn on the blender and let it run for a minute.
Vinegar also works well for removing tough stains from Ninja blenders.
Pour one cup of vinegar into the blender, then give it a few minutes to run. After that, simply rinse the blender with warm water to finish. Vinegar is a fantastic all-natural cleaner that works wonders to remove stubborn stains and residue.
What to do if the Ninja blender jar is cloudy
After repeated use, the jar and cup interiors of your Ninja blender may acquire a white film on them. That is pretty common. It is made up of mineral deposits and hard-water stains from mixing mineral-rich fruits and vegetables.
White vinegar will perform better than dish soap to clean a cloudy Ninja blender jar and get rid of these pesky white streaks.
One cup of white vinegar needs to be mixed with one and a half cups of fresh water. The blender cup or jar should be filled with this mixture. Blend at a high speed for around 30 seconds while using the pulse feature.
Allow the mixture to remain for a few hours so that the acidity of the vinegar has a chance to dissolve the mineral deposits.
All what’s left to do is drain the soapy water, rinse the Ninja blender, and let it air dry.
Precautions and tips for looking after Ninja blender
Here are some things that you may find helpful when cleaning and caring for the Ninja blender.
- Don’t start to clean the blender if you haven’t unplugged it first.
- Never leave the device soaked in water. Dry it entirely before storing it because leaving it wet after cleaning can eventually cause corrosion.
- Your owner’s manual contains some unique advice on how to clean Ninja blender. So have a look at it before you try to clean your Ninja blender.
- Avoid immersing the blender in water when cleaning; doing so could harm the motor and blades. Use a wet towel or sponge instead.
- Whenever possible, try to clean plastic and glass blenders by hand. We don’t consider the dishwasher safe for these models of Ninja blenders, as it may harm them. Additionally, washing by hand is more convenient, secure, and quick for maintaining your blender’s cleanliness and beauty.
- Wash each component of the blender individually. Be careful and patient when you clean your Ninja blender.
- Avoid using abrasive cleansers like steel wool or scouring pads at all times because they can scratch and harm the plastic components of your blender.
- If you see that your blades are dull, don’t throw them away. You can easily find a guide on how to sharpen Ninja blender blades and give them a second life.
- Avoid using a blender for making odorous meals as much as you can. In case you need to eliminate offensive smells, you can do so with detergent, lemon, or baking soda.
Frequently asked questions
[expert_review_faq params=”JTdCJTIycWElMjIlM0ElNUIlN0IlMjJxJTIyJTNBJTIySG93JTIwZG8lMjB5b3UlMjBnZXQlMjBtb2xkJTIwb3V0JTIwb2YlMjBhJTIwTmluamElMjBibGVuZGVyJTNGJTIyJTJDJTIyYSUyMiUzQSUyMkNlcnRhaW5seSUyQyUyMHRoZXJlJTIwZXhpc3QlMjBudW1lcm91cyUyMHRlY2huaXF1ZXMlMjB0byUyMGNsZWFuJTIweW91ciUyME5pbmphJTIwYmxlbmRlciUyMG9mJTIwbW9sZCUyMHdoaWNoJTIwaW5jbHVkZSUyMGFwcGx5aW5nJTIwYmxlYWNoJTJDJTIwdmluZWdhciUyQyUyMG9yJTIwbGVtb24uJTIwQXMlMjBpdCUyMGhhcHBlbnMlMkMlMjBsZW1vbiUyMHdhcyUyMHByb3ZlbiUyMHRvJTIwY2xlYW4lMjBhJTIwTmluamElMjBibGVuZGVyJTIwb2YlMjBtb2xkJTIwcXVpY2tseSUyMGFuZCUyMGVhc2lseS4lMjBXZSUyMGFkdmlzZSUyMHlvdSUyMHRvJTIwY2hvb3NlJTIwdGhpcyUyMG9wdGlvbi4lNUNuJTVDbkZvbGxvdyUyMHRoZSUyMHN0ZXBzJTIwc3BlY2lmaWVkJTIwYmVsb3cuJTVDblN0ZXAlMjAxLiUyMEJsZW5kJTIwd2F0ZXIlMjB3aXRoJTIwZHJvcHMlMjBvZiUyMGxlbW9uJTVDbiU1Q25PcGVuJTIwdGhlJTIwanVnJTJDJTIwcG91ciUyMHdhcm0lMjB3YXRlciUyQyUyMGFuZCUyMHB1dCUyMGElMjBmZXclMjBkcm9wcyUyMG9mJTIwbGVtb24lMjBqdWljZS4lMjBTZXQlMjB0aGUlMjBkZXZpY2UlMjBvbiUyMGElMjBsb3clMjBzZXR0aW5nJTIwYW5kJTIwYmxlbmQlMjB0aGUlMjB3YXRlciUyMHdpdGglMjBkaXNoJTIwc29hcCUyMGZvciUyMGFib3V0JTIwMSUyMG1pbnV0ZS4lNUNuJTVDblN0ZXAlMjAyLiUyMFdhc2glMjB0aGUlMjBzb2FwJTIwYXdheSU1Q24lNUNuVHVybiUyMHRoZSUyME5pbmphJTIwYmxlbmRlciUyMG9mZiUyQyUyMGRyYWluJTIwdGhlJTIwd2FybSUyQyUyMHNvYXB5JTIwd2F0ZXIlMkMlMjBhbmQlMjBwdXQlMjB0aGUlMjBqdWclMjB1bmRlciUyMGElMjBydW5uaW5nJTIwdGFwLiU1Q24lMjIlN0QlMkMlN0IlMjJxJTIyJTNBJTIySG93JTIwZG8lMjB5b3UlMjBjbGVhbiUyMHRoZSUyMGluc2lkZSUyMG9mJTIwYSUyME5pbmphJTIwYmxlbmRlciUzRiUyMiUyQyUyMmElMjIlM0ElMjJUaGlzJTIwcHJvY2VkdXJlJTIwd29uJ3QlMjB0YWtlJTIwbXVjaCUyMHRpbWUlMjBvciUyMGVmZm9ydC4lMjBTaW1wbHklMjBjb21wbGV0ZSUyMHRoZXNlJTIwYWN0aW9ucyUyMHRvJTIwY2xlYW4lMjB5b3VyJTIwTmluamElMjBibGVuZGVyJTIwZnJvbSUyMHRoZSUyMGluc2lkZS4lNUNuJTVDblN0ZXAlMjAxLiUyMEJsZW5kJTIwd2F0ZXIlMjB3aXRoJTIwZGlzaCUyMHNvYXAlNUNuJTVDblBsYWNlJTIwdGhlJTIwanVnJTIwb24lMjB0aGUlMjBiYXNlJTIwdW5pdCUyMGFmdGVyJTIwZmlsbGluZyUyMGl0JTIwd2l0aCUyMHdhdGVyJTIwYW5kJTIwYSUyMGNvdXBsZSUyMG9mJTIwZHJvcHMlMjBvZiUyMGRpc2glMjBzb2FwLiUyMFRoZW4lMjB0dXJuJTIwdGhlJTIwYmxlbmRlciUyMG9uJTIwYW5kJTIwd2FpdCUyMGZvciUyMGFyb3VuZCUyMDMwJTIwc2Vjb25kcy4lMjBXaGVuJTIwaXQncyUyMGRvbmUlMkMlMjB0dXJuJTIwaXQlMjBvZmYuJTVDbiU1Q25TdGVwJTIwMi4lMjBMZXQlMjBpdCUyMHNpdCU1Q24lNUNuMTAlMjBtaW51dGVzJTIwc2hvdWxkJTIwYmUlMjBsZXQlMjBmb3IlMjB0aGUlMjBtaXh0dXJlJTIwdG8lMjBzaXQlMjBiZWZvcmUlMjB5b3UlMjByaW5zZSUyMHRoZSUyMGRldmljZSUyMHVuZGVyJTIwYSUyMHJ1bm5pbmclMjB0YXAuJTVDbiU1Q25TdGVwJTIwMy4lMjBSZWFzc2VtYmxlJTVDbiU1Q25CZWZvcmUlMjBwdXR0aW5nJTIwcmVtb3ZhYmxlJTIwY29tcG9uZW50cyUyMGJhY2slMjBvbnRvJTIwdGhlJTIwYmFzZSUyMHVuaXQlMjBpbiUyMHRoZWlyJTIwb3JpZ2luYWwlMjBwbGFjZXMlMkMlMjBkcnklMjB0aGVtJTIwY29tcGxldGVseSUyMHdpdGglMjBhJTIwc29mdCUyMGNsb3RoJTIwb3IlMjBwYXBlciUyMHRvd2VsLiUyMiU3RCU1RCUyQyUyMnNob3dfdGl0bGUlMjIlM0EwJTJDJTIyZXhwYW5kZWQlMjIlM0ExJTJDJTIydGl0bGUlMjIlM0ElMjJGcmVxdWVudGx5JTIwQXNrZWQlMjBRdWVzdGlvbnMlMjIlMkMlMjJzdHlsZSUyMiUzQSUyMnNpbXBsZS0xJTIyJTJDJTIyY29sb3IlMjIlM0ElMjJibHVlLTElMjIlN0Q=”]
Conclusion
We hope that after reading this article, you don’t have any more questions regarding how to clean the Ninja blender properly.
A Ninja blender, as it happens, is dishwasher safe, which means that you have a variety of choices. Find the method that is suitable for you and stick to it. The only possible products you might need are detergent, baking soda, and lemon. This makes the cleaning process extremely easy and, most importantly, cheap.
Always remember to be patient while completing this process. And follow our advice by taking extreme caution while you are working with the blades. Good luck.

